hanlon stud welding
Over 60 Years of High-Quality, USA-Made Stud Welding Products at Competitive Prices


Drawn arc studs
buy now
Over 600 sizes of threaded, no thread, reduced base, tapped, collar, and headed weld studs.


CD Accessories
Buy Now
Collets, Collet Inserts, Collet Protectors, Legs, Feet, Magnetic Cup Head Chucks and More.


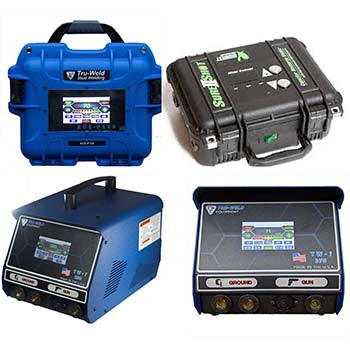


drawn arc stud welding equipment
Buy Now
Welders that utilize the latest technology in stud welding.


oem part number lookup
find your part
Cross-reference OEM part numbers for Tweco, Proweld, Image, and more.
Compatible with These Stud Welder Brands

Need a Part You Don’t See?
Contact Us Today!
Our experts can help you find the right stud, accessory, or rental fast.
Same-day response to most inquiries (M–F).
Phone: 800-426-5667
Email: office@hanlonequipment.com
Trusted by Industry Pros for Over 60 Years